
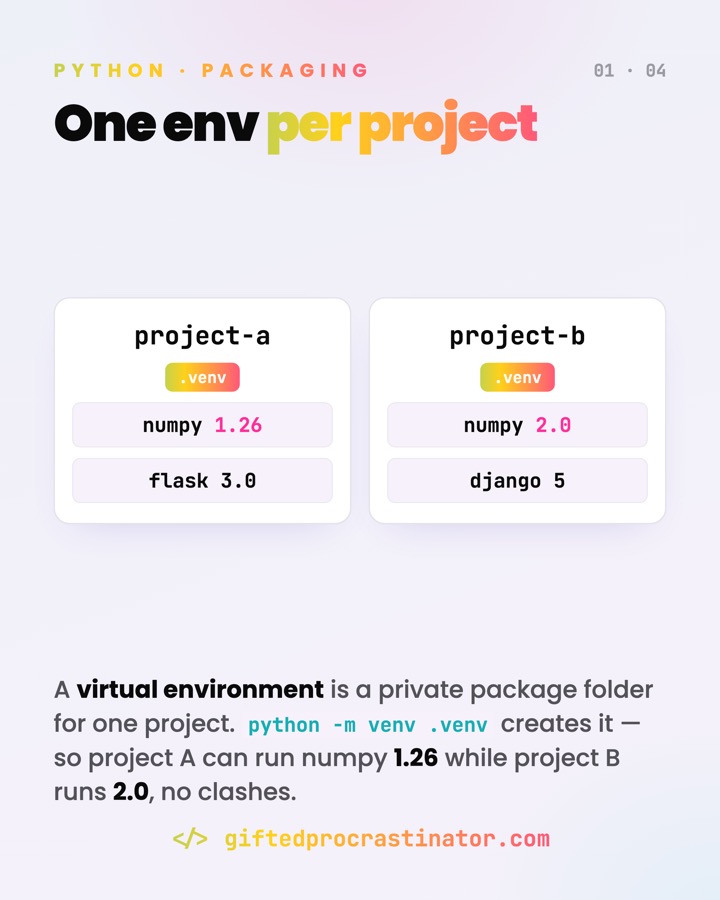
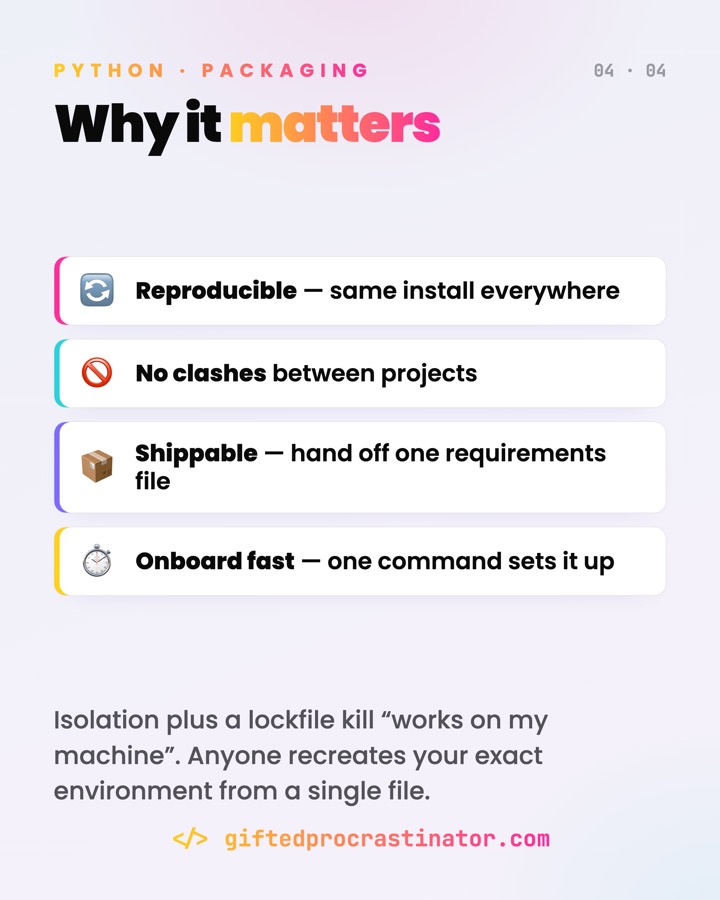
A virtual environment gives each project its own private set of packages. So one project can run numpy 1.26 while another runs 2.0 — same machine, no fights. pip installs into that box; a requirements file makes the whole thing reproducible.
Where you meet it
- Two projects need different versions of the same library.
- Cloning a repo with a
requirements.txtorpyproject.tomland runningpip install. - Deploying — the server has to recreate your exact package set from a file.
What it does
It isolates dependencies per project instead of dumping everything into one global Python. Each env has its own site-packages folder and its own pip, so installing or upgrading in one project can't break another.
Skip the venv and your projects fight over one global Python — one upgrade silently breaks another.
How it works
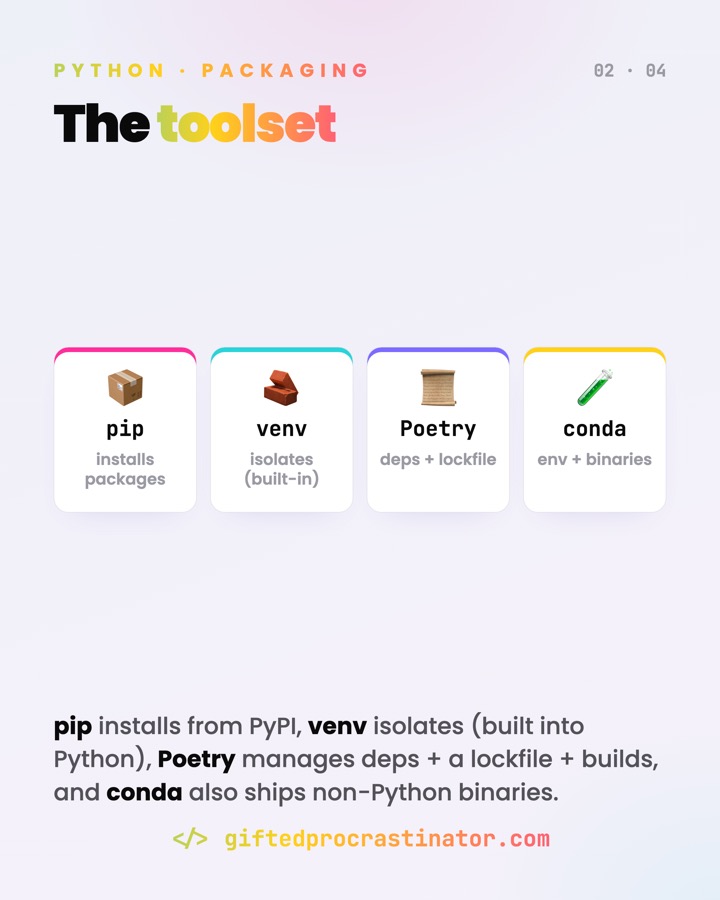
A venv is just a folder with a private Python and an empty package store. You create it, activate it, then pip installs from PyPI into that folder. A requirements.txt (or pyproject.toml) records what to install so anyone can rebuild it.
python -m venv .venv          # create the box
source .venv/bin/activate     # macOS / Linux  (Windows: .venv\Scripts\activate)
pip install flask numpy       # installs into .venv only

pip freeze > requirements.txt # pin exact versions
pip install -r requirements.txt   # rebuild the same env elsewhere
While active, python and pip point at the env. Type deactivate to step back out.
Watch out
- No venv → "dependency hell". Installing globally means projects fight over versions and one upgrade breaks another.
- Don't commit
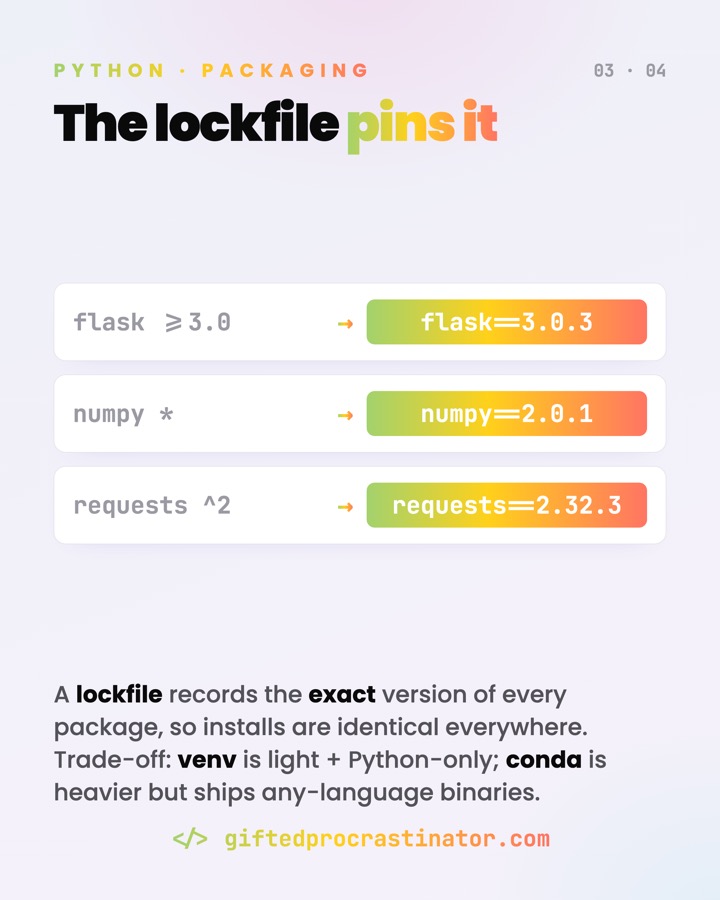
.venv/. It's machine-specific and huge — gitignore it and commit the requirements file instead. - Pin versions for reproducibility.
flask==3.0.3rebuilds identically;flaskalone drifts over time. - Use the env's own
pip/python. If install fails, check the env is actually active —which pythonshould point inside.venv.
Go deeper
Eine virtuelle Umgebung gibt jedem Projekt seinen eigenen privaten Paket-Satz. So läuft ein Projekt mit numpy 1.26, ein anderes mit 2.0 — gleicher Rechner, kein Konflikt. pip installiert in diese Box; eine Requirements-Datei macht das Ganze reproduzierbar.
Wo es vorkommt
- Zwei Projekte brauchen verschiedene Versionen derselben Bibliothek.
- Ein Repo mit
requirements.txtoderpyproject.tomlklonen undpip installlaufen lassen. - Deployment — der Server muss deinen exakten Paket-Satz aus einer Datei wiederherstellen.
Was es tut
Es isoliert Abhängigkeiten pro Projekt, statt alles in ein globales Python zu kippen. Jede Umgebung hat ihren eigenen site-packages-Ordner und ihr eigenes pip — ein Installieren oder Upgraden im einen Projekt kann das andere nicht zerschießen.
Ohne venv streiten deine Projekte um ein globales Python — ein Upgrade zerlegt klammheimlich das nächste.
Wie es funktioniert
Ein venv ist nur ein Ordner mit einem privaten Python und einem leeren Paket-Speicher. Du legst ihn an, aktivierst ihn, dann installiert pip von PyPI in diesen Ordner. Eine requirements.txt (oder pyproject.toml) hält fest, was installiert wird, damit jeder es nachbauen kann.
python -m venv .venv          # Box anlegen
source .venv/bin/activate     # macOS / Linux  (Windows: .venv\Scripts\activate)
pip install flask numpy       # installiert nur in .venv

pip freeze > requirements.txt # exakte Versionen festnageln
pip install -r requirements.txt   # gleiche Umgebung anderswo nachbauen
Solange aktiv, zeigen python und pip auf die Umgebung. Mit deactivate steigst du wieder aus.
Worauf achten
- Kein venv → „Dependency Hell". Global installieren heißt: Projekte streiten um Versionen, und ein Upgrade zerlegt das nächste.
.venv/nicht committen. Maschinenspezifisch und riesig — gitignore es, committe stattdessen die Requirements-Datei.- Versionen pinnen für Reproduzierbarkeit.
flask==3.0.3baut identisch nach;flaskallein driftet mit der Zeit. - Das
pip/pythonder Umgebung nutzen. Klappt die Installation nicht, prüf, ob die Umgebung wirklich aktiv ist —which pythonsollte in.venvzeigen.